Training a horse to ride is hard work, but it’s also a rewarding experience. It involves ground work, riding, and in both patience is very important.
Establish a stronger relationship with your horse by spending time with them, your horse will feel comfortable and secure when you’re around.
As you may have heard, horses can kick, run, and bolt without reason. But through training, you can control their movements. So they won’t hurt themselves and others around them.
There’s more to learn when training a horse. Let this article be your guide. It’s filled with details that make horse training smooth sailing.
Step 1: Making a Plan and Timetable
Jot down the things you want your horse to learn, as you might miss some details. Every lesson has a preferred method and commands you want to teach your horse.
It’s also important to have a timetable. It can motivate you to achieve something after a certain period. You can follow clicker training or natural horsemanship. Also, you have to decide whether you ride Western or English style.
You may need more time for a lesson. It’s ok to repeat training or slow down with the process. There’s nothing wrong with it as long as you achieve your goals.
Step 2: Build a Bond
You have to build a bond with your horse. Making it feel at ease, comfortable, and secure is crucial. In this way, it will learn new skills without stress and resistance. You can bond with your horse in three ways.
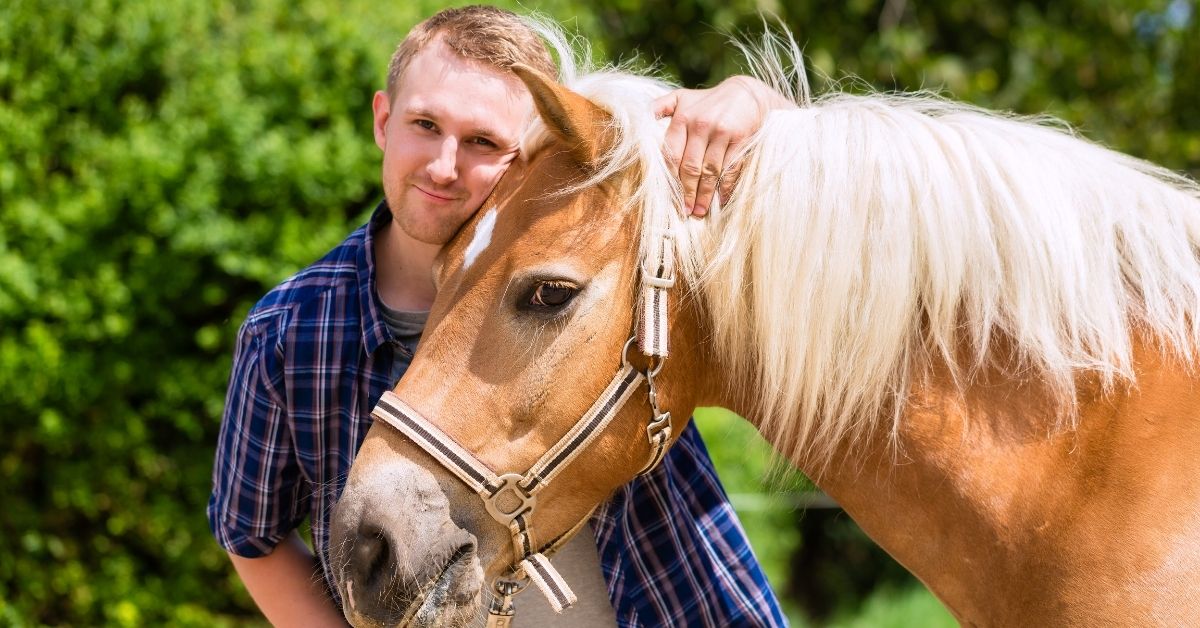
Hanging Out With Your Horse
For obvious reasons, you can bond with your horse when you spend time with them. Equines learn from routine and repetition. They will be aware of your presence if you often hang out with them.
It’s easy to find time to hang out with your horse. You can groom, bathe, walk with it, braid its mane, and let it graze on a lead rope. The continuous process will make a horse comfortable in your presence.
Create a Positive Atmosphere
Your horse must not feel stress and pressure when you’re around. The two of you can engage in a stress-free activity. Even when in training, you have to practice this mindset.
Don’t pressure your horse, as this animal can feel frustrated. Make things fun by doing some challenges so the horse can take a break from training.
Learning the Horse Language
As you build a bond with your horse, you also get to know its personality. You can find out its likes and dislikes. Also, you’ll get to know what they’re afraid of. These things lead to ideas that will make training convenient for your horse.
Step 3: Demonstrate Clear Leadership
Aside from making your horse feel comfortable, you must assert your dominant role. So, you won’t encounter any problems during training.
It can start with making your horse acknowledge your personal space. You have to set an imaginary circle that is 360 degrees. This circle encompasses the length when you extend your arms. Your horse must only get into this circle with your permission.
Body language affects horses, so you must stand straight and tall during lessons. You can let loose and relax your body when it’s time for some fun.
Know that horses are social animals. So, they gravitate towards a person that they feel comfortable with. Once a horse is familiar with you, it will respect you as its leader. Hence, it participates in training without issues.
Step 4: Desensitization
Desensitization is crucial before putting your horse on a saddle. The reason behind this is that horses are not predators. A horse is a prey that gets startled by noise, strangers, and fire.
In desensitization, you have to train your horse to trust you. In this way, the animal will be able to conquer their fears. You have to compliment your horse when it does a good job.
Fear and stress can’t leave horses in a snap of the fingers. At least, you can control them to have a minimal reaction when the feeling hits them. It would be best if you were calm and patient to teach them these things.
Step 5: Saddle Training
In saddle training, you have to introduce each component to the horse. Hence, let’s look at every important detail.
The Pad
Placing the pad at the horse’s back is not a random act. Do it in a slow phase so it won’t scare the animal. Start with letting the horse smell and see the pad.
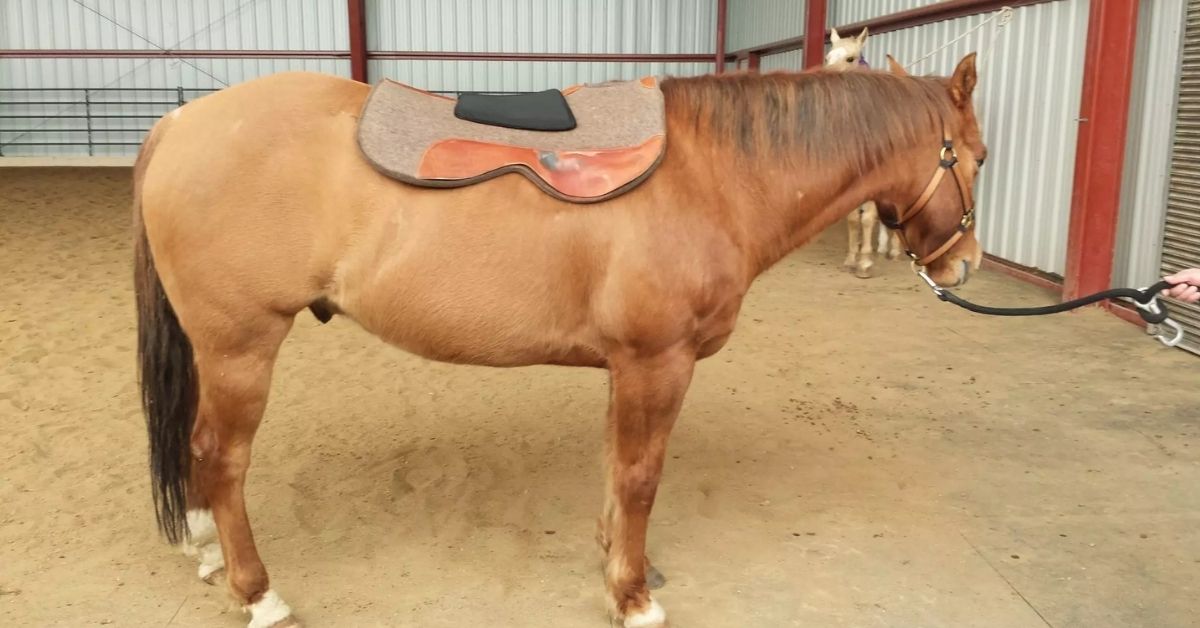
Start putting the pad on its neck, then move it to its back. You have to assure your horse that the pad is not harmful. So, you can flop it around and to its back. Place the pad in the right position, and your horse should be comfortable.
The Saddle
Let your horse see and smell the other saddle parts. You have to place the outside stirrup on the saddle horn. When you put the saddle on the horse, the lead rope can be in your left hand, and the saddle is on your right step-up.
The rope should be free from tangles so you can let it go anytime. You must expect the worst and the best when putting on the saddle for the first time. In case the horse reacts, you may need to release the rope.
Your horse won’t stand well after you put the saddle on. It’s fine to give the animal more time to get used to it. You’ll also need to make some adjustments to the saddle. Do it by stepping on the opposite side of the horse as you put the stirrup down the horn.
Try your best not to hit any side of the horse until you tighten everything. While doing the process, the horse feels some pressure. Tell comforting words to it as you attach the saddle in the following order.
When Securing the Girth
Again, your horse should know your presence. Hence, you have to slide your hand to its legs until the girth. Grab the girth from down under. Your horse will move around when you do it, so go with the flow.
Before letting the horse loose, ensure you’ve already tightened the girth. You can’t do it in an instant, but it can take some time. You can finish tightening the girth by giving way to your horse’s movements.
When Securing the Back Cinch
The back cinch has the most pressure compared to other components. So, it can cause a lot of discomfort to horses. You have to add it as it has a significant role. It prevents the saddle from flopping.
You don’t have to over-tighten the cinch. But not too loose so you can hang one foot on it. Before creating proper tightening, be slow and careful when placing the cinch.
When Securing the Stirrups
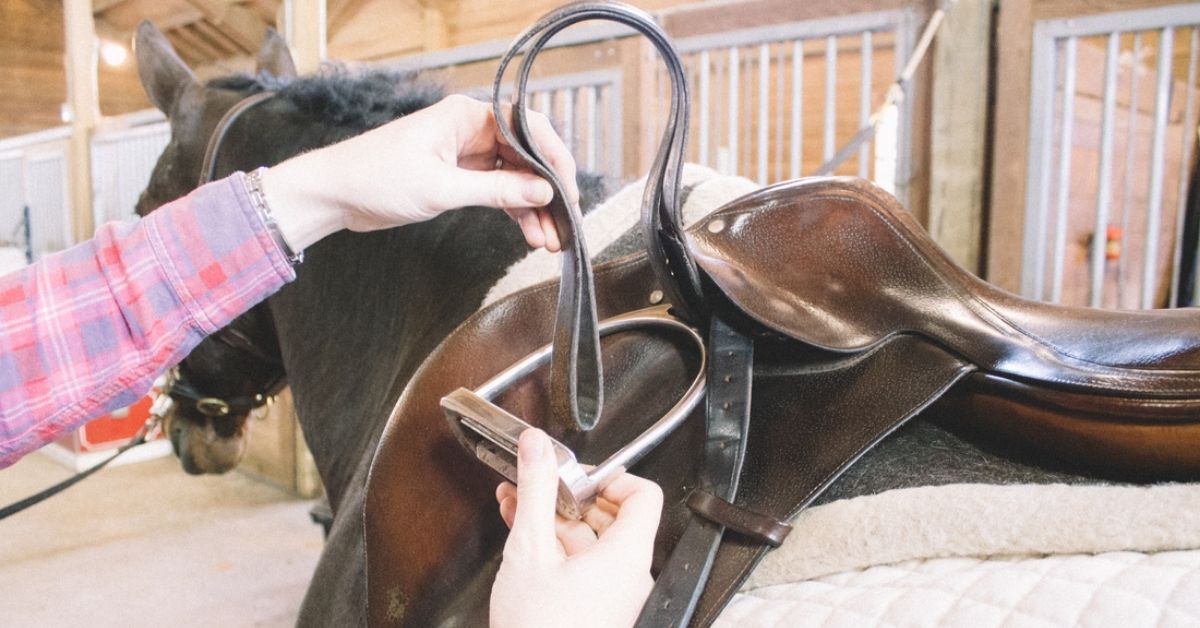
You’ll need to secure stirrups when you use an English saddle. You can do it after tightening the girth and saddle. Then, you can put one side of the stirrup and let it hang.
You must place the stirrup on the horse’s side where you stand. If not, the horse will feel off, and it might run into you.
You can let your horse do some exercise while you put the stirrup. For example, you can make your horse go around in a circle or change direction. These are the things that your horse learned from groundwork training.
They seem to be simple movements. But they make the horse preoccupied while you’re adding the stirrup.
When Securing Breast Collar
Hold the lead rope in a secure position as you give time to the horse to become calm. Like with other steps, you have to tighten the breast collar in a slow manner. Once this component is tight, you can walk your horse around the pen.
It’s normal that the horse will need time to get accustomed to the saddle. As you walk it forward, face your horse as it takes some steps.
Letting the Horse Get Used to the Weight
When you add the saddle, the weight is something new to the horse. You brush off the feeling of uncertainty by showing affection to your horse.
You can put your arms on its back and pet it. But the main goal is for the horse to be familiar with the saddle’s weight.
I also bond with my horse and let it feel my weight. You can do the same thing by lying on your belly over the horse’s back.
But you must turn your horse’s nose to the side. Also, it would be best to disconnect the hind end, so your horse doesn’t have the power to move away.
Step 6: Groundwork training
Groundwork is fundamental to any advanced training that your horse will go through. It’s essential to prevent horses from hurting themselves. Here are the things that complete groundwork training.
Halter Breaking
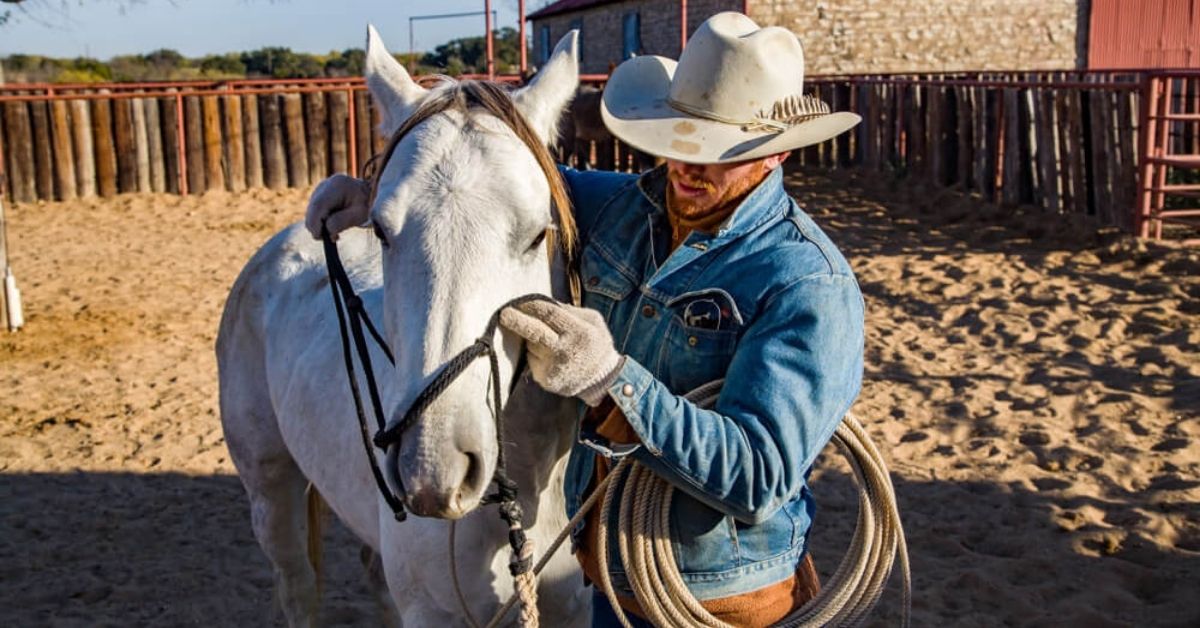
It’s a vital part of the training because it affects your horse’s behavior until adulthood. You can let the horse get used to the touch even though it’s still a foal.
Touching and rubbing all over the horse’s body are imprinting processes. The animal won’t only remember them in later training, but they’re the ways to establish trust.
You can begin halter breaking at the age of 10 to 14 years. Prepare a well-fitting halter for the horse’s size. Pet and brush the horse to calm the animal.
Your horse may not still be familiar to the touch in some parts of its body. Be persistent with the training until it gets used to it.
When the horse becomes comfortable with the halter, you can show him how to get tied and follow you. You may halter an older foal in another pen without the mare.
Suppose you train a young foal with the halter, pet and groom him. Let someone lead the mare so you and the foal can follow.
You can use another horse to deal with a larger, stubborn horse. Let an experienced rider take care of the latter.
You have to connect both horses through lead rope and a strong halter. Do a daily lesson for 15 to 20 minutes. During the lesson, you can teach voice commands as well.
Commands
Voice commands are the basic foundation. A horse should learn these commands before you teach them movements.
Whoa
Your horse will learn how to stand without moving from this voice command. The initial training can go on for a minute, and you can increase the time later.
He can learn to remain stationary while moving around you. It’s a requisite for ground tying and showmanship.
When your horse learns ‘whoa’, it doesn’t stand still with all fours. But you can make further teachings.
Move the right hind foot either to the front or the back. Let a horse take a half step to make both hind legs even. Pet and praise your horse after it does a good job.
Training with an older horse may need an assistant. It may be a lot of work if it’s with a larger one.
Backing
As your horse walks, it needs to learn how to move back. Stand beside the horse’s head but not in front.
While holding the rope in your left hand, pull it on the rear. After doing it, say ‘back’. You must press the shoulder joint of a horse at the same time.
Pull the rope a little harder when there is no response from your horse. You may also use a stiff whip and tap its chest a bit.
Pivoting on Forehead
Pull the horse’s head to the left with the lead rope in your left hand. Do it with gentleness, as it’s your warning not to move forward or backwards.
To make a horse pivot, touch the barrel or the spot your heel touches when you mount. It can’t execute a full circle, so you must let the horse move to the right.
Use a stick and tap the horse a bit when it shows resistance. You can reward or let the animal relax after every step.
Bitting and Bridle
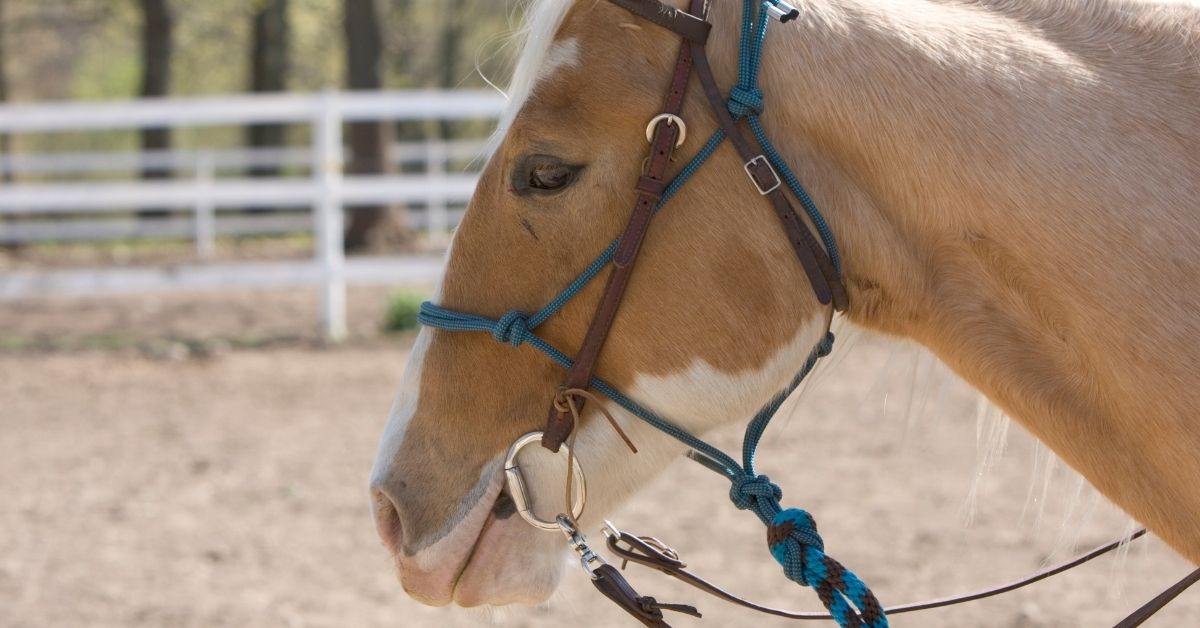
D-ring or O-ring is ideal for introducing bitting. Make it discreet when slipping the bridle into the horse’s mouth for the first time. You also have to be careful not to hit its teeth.
I’ll discuss the details of how to put the bridle the correct way. Hold the crown piece by your right hand. The other hand should grasp the bit.
Place your thumb on the interdental space to make the horse open its mouth. This area doesn’t have teeth. But don’t use force, and be patient until it opens its mouth.
After adjusting the bridle, the bit should fit well on the horse’s mouth. You know you did it if you see two wrinkles on the corners of the equine’s mouth.
Lunging
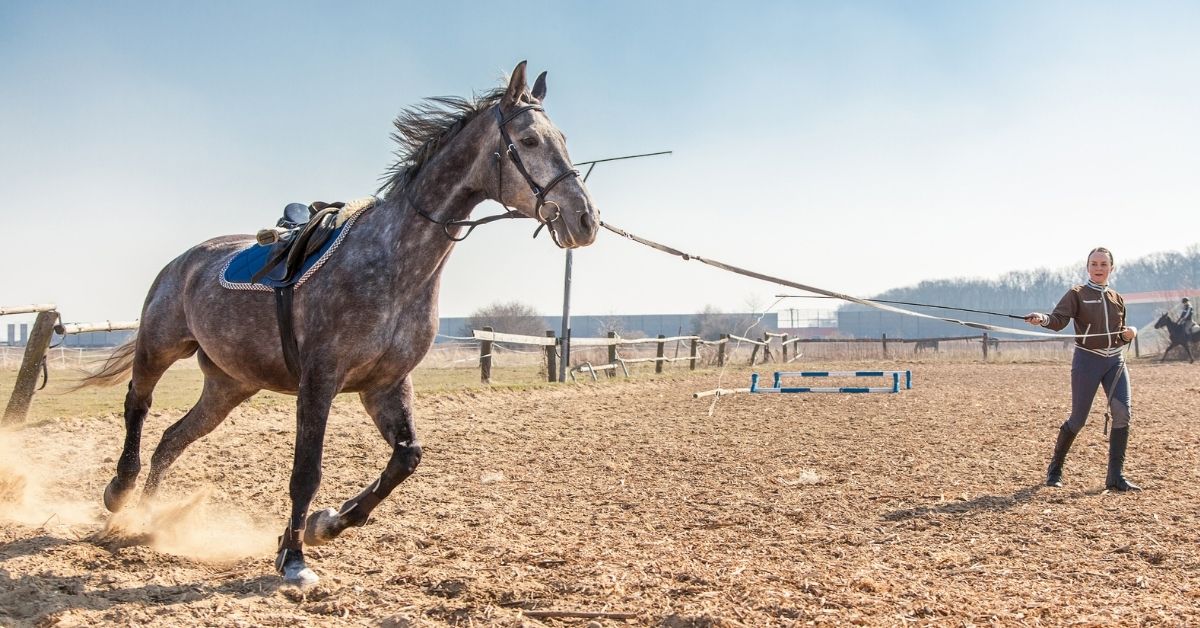
Introduce movements to your horse through the lunge line. Let it do each movement for 5 to 10 minutes.
A 20-meter circle on a line lunge gives a horse enough space to practice. It has all the freedom to walk, halt, trot, and canter.
During the training, your voice must be consistent so your horse can understand you with ease. It will also help you give the animal some time to stretch and prepare its muscles.
Have a better understanding of the equine’s gaits. It’s to know the extra training that your horse needs.
Ground Driving
To reach your goal in ground driving, you’ll need an assistant that holds the lead and chain. You’ll be behind the horse with the reins.
Position yourself in a way that the horse won’t kick you. Have an extra length of rein that drags behind you.
Start the training by letting the assistant turn the horse. You have to orient this person with your movements and directions. Also, you’ll be the one to give signals to the horse.
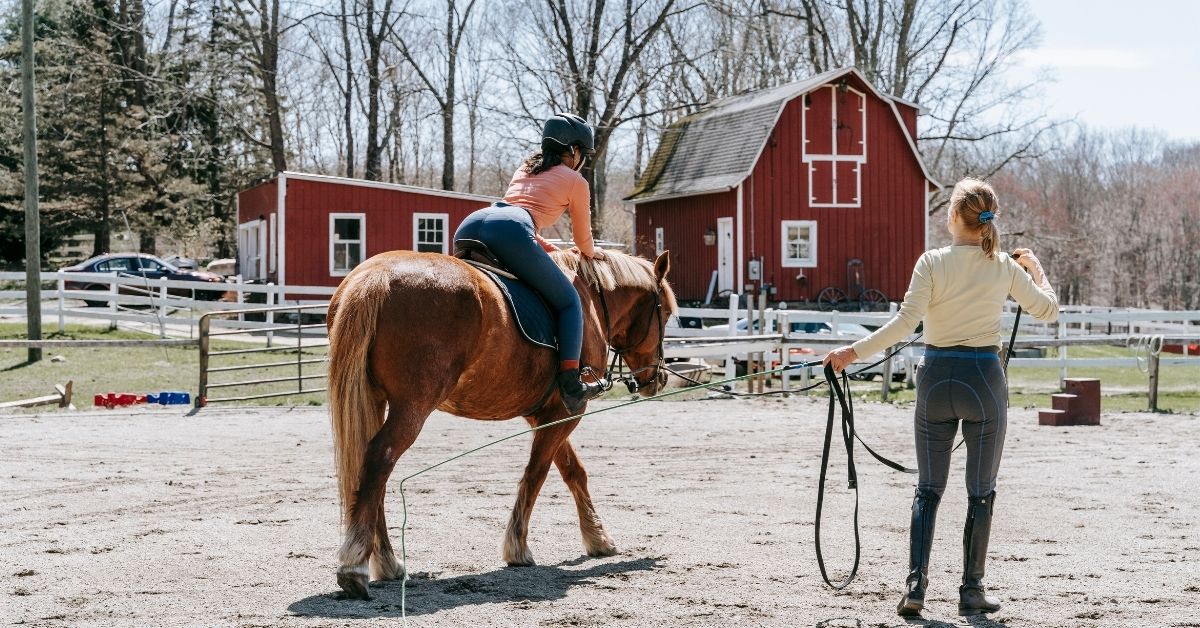
The assistant will leave the horse in a gradual manner as you take over the control. Ground driving is leading the horse while it’s behind you.
When your horse doesn’t move, let your assistant guide it again. You can tap the line to encourage it to move. There are instances when you’ll need two assistants if your horse doesn’t budge.
Furthermore, you can walk your horse along the corral’s lines. Be gentle in pulling the animal. You can do it three to four times and reverse.
The horse may turn in another direction, but it will learn to follow. Don’t train for too long. You should stop before your horse gets tired and reward it at the end of the session.
Step 7: Advanced Movements
Teaching advanced movements to horses takes years. Be patient, especially with the young ones.
Collection
A collected horse refers to a movement that uses the hindquarters. It shortens the horse’s profile as more weight is on its hindquarters.
When doing this movement, the forehead of the equine is up while the flexion is on the neck and pole. You’ll see its round back that goes upward too.
Side Pass
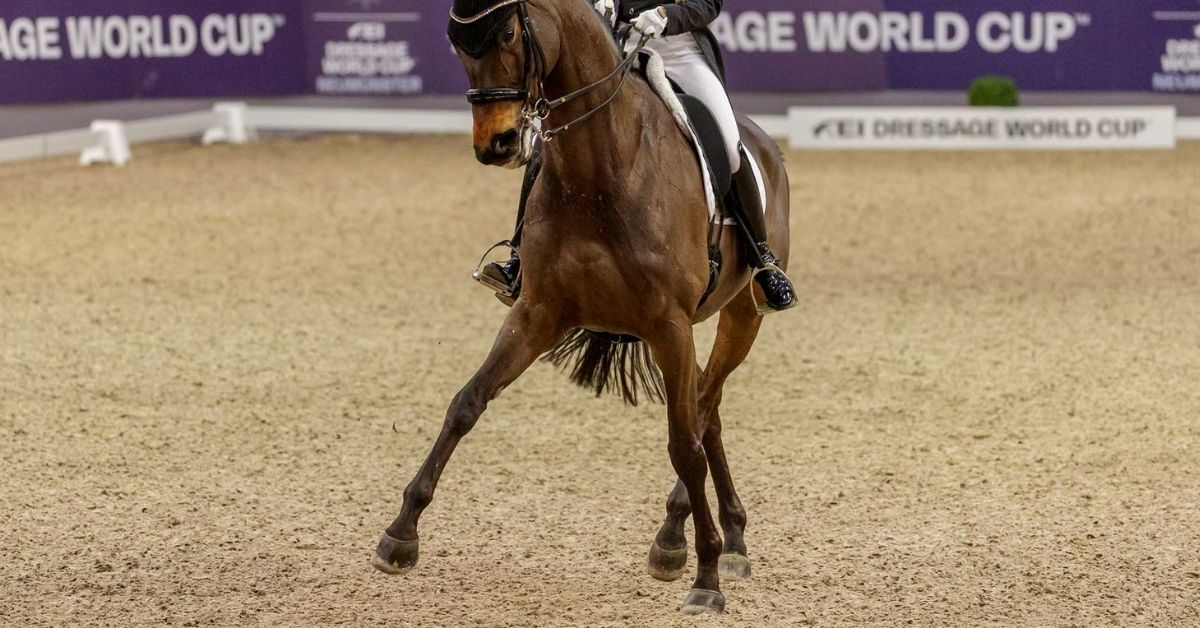
Your horse can learn sideway movements. The training on this begins with the horse facing a wall or rail. When the horse goes sideways, its legs cross over the supporting legs.
Lead Changes
A lead change is a combo of forward and sideway movements. The horse’s legs go sideways, overlapping one another as it goes forward.
Add more leg pressure if the horse doesn’t go sideways. When it doesn’t follow to move forward, loosen the rein.
Extended Gaits
You teach your horse how to lengthen its stride in this training. It also includes an extended trot, which focuses on increasing leg pressure.
It’s about something other than increasing the speed. You can expect the horse to push and drive with its hindquarters even if the weight falls on the hind legs. It doesn’t hinder the forelegs from reaching forward.
Sliding Stops
You can let your horse slide forward at a run or lope. It can happen as the horse’s locked hindquarters drop. You can tell your horse to do it by squeezing your legs when you rise at a post.
Rollbacks
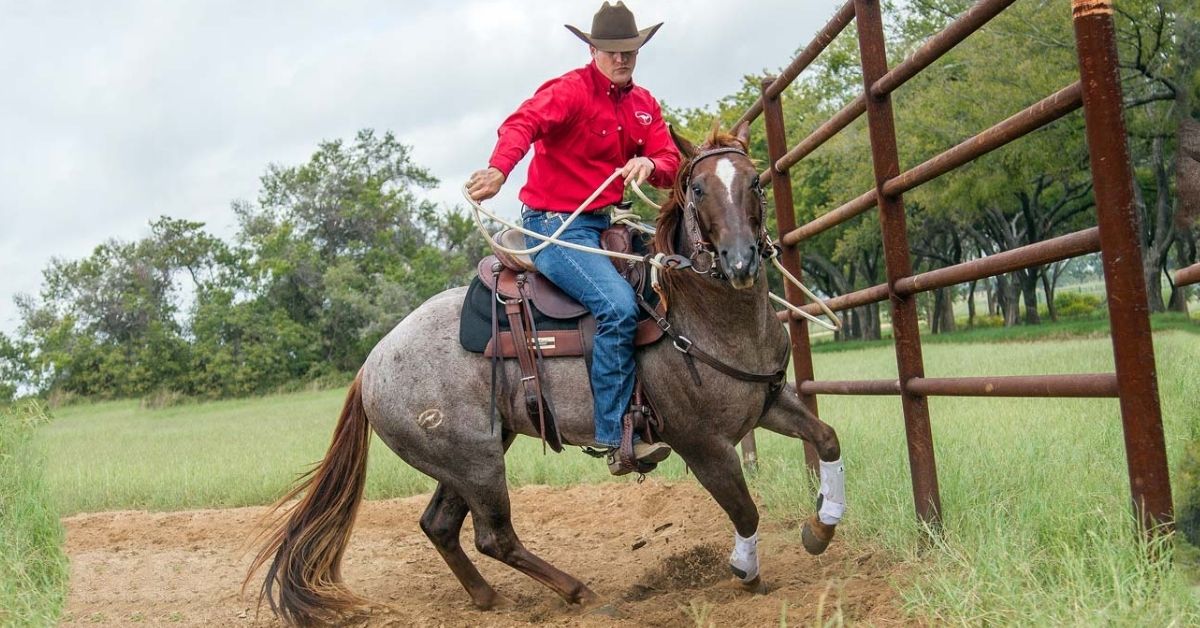
A rollback is when a horse runs and does a 180-degree turn without hesitation. Its weight stays on its hindquarter while the hind feet are under its body.
You can teach this movement to your horse if it knows how to stop straight while on its hindquarters. Tell it to stop through a slight bend of the body.
The horse should also feel pressure on the rein and outside leg. Halt the horse and ask it to turn its nose through direct rein pressure.
When it makes a turn, unleash the rein pressure. Shift to utilizing the combined pressure on the rein and outside leg. So, you push it to its hocks and send it to a turn.
Step 8: Care of the Horse After a Ride
If you prepare your horse for a ride, there are several things that you have to do after the activity.
Feeding and Watering Your Horse
You have to offer your horse water after a ride. It’s fine to feed your horse grass and hay, but you have to let an hour pass when feeding grains.
After a long ride, it’s best to split the evening meal into two small meals. Serve the two meals a few hours apart.
Dealing With Stiffness
You and your horse may both experience stiffness after a long ride. Instead of letting it stall, you have to let it move around the paddock. Give it 15 to 30 minutes so it can move around without any load on its back, and enjoy rolling.
Changing items
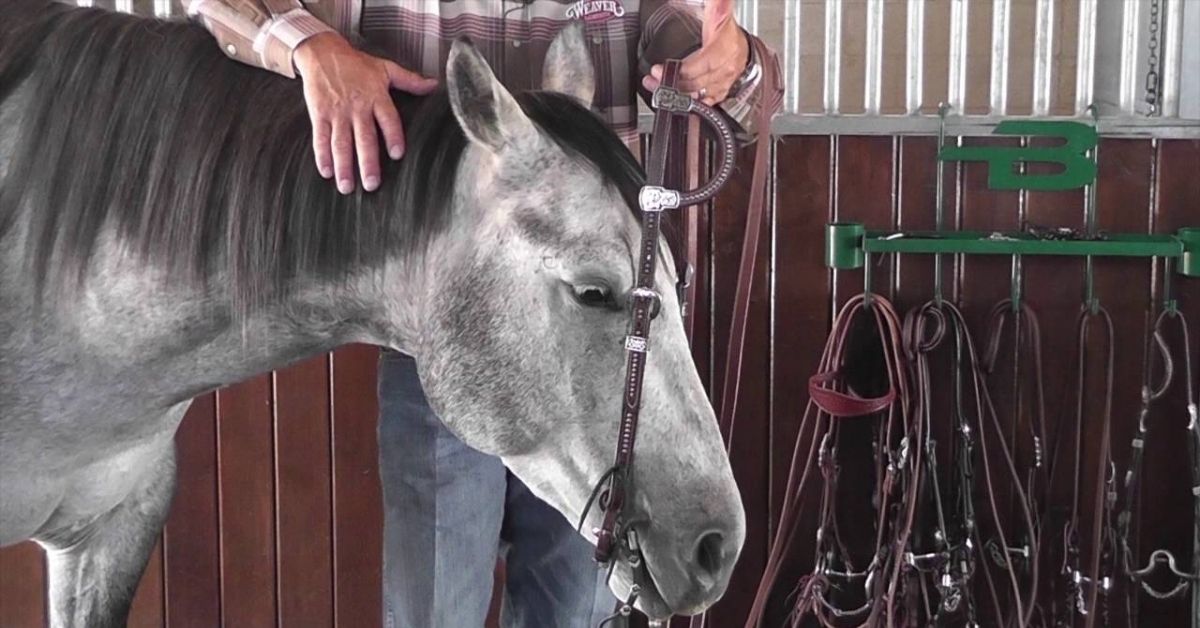
Next, loosen its cinch or girth. Take off the bridle and replace it with a lead shank and halter.
After you tie your horse, rinse the bit-off. You must also wipe out sweat and dirt on the girth and saddle. Remove the tack out of the way as well.
Grooming
You don’t only do grooming before a horse ride. It’s also important after the ride.
A hose can clean up the whole body of a horse. It’s the wise thing to do if dirt clings to its body. A horse will love it, especially on a warm or hot day. It’s not only for cleaning but cooling down as well.
After-ride grooming includes checking for any issues with the horse’s body. Search for chafing and rubs on bridle, girth, saddle, and tack.
Inspect the horse’s feet, too, if the shoes are still in good condition. Observe how it stands and walks. Its weight should be in a balanced state.
You can also check for signs of illness like colic. Also, see if it displays lameness while doing thumps.
FAQs
How Long Does it Take to Train a Horse?
The duration of training differs from horse to horse. But the average period is 60 days. It can also take up to 90 days. The shortest time is 30 days when a young horse trains with a professional.
How Much Does it Cost to Train a Horse?
The horse training cost varies depending on the trainer or horse training institution. In general, the lowest is $200 a month. Moreover, the monthly cost can be a thousand dollars.
You may also put your horse in a boarding facility where horse training can occur. You have to pay $20 or more per day. It’s $600 for a month or more.
What is the Best Time to Train a Horse?
The best time to train a horse is when it’s 2 or 3 years old. But some trainers wait for horses to turn 4 or 5 years old. In this period, the growth of equines is still ongoing. But some may have reached their permanent adult height.
Conclusion
You have to take gradual steps when training a horse. Don’t rush things so your horse can learn well. You have to be calm and patient as you get the trust and dependence of the equine.
If you make your horse comfortable when you’re around, it will obey you. You must help your horse conquer its fear, so it’s not reluctant to try new things. In this way, it can learn new skills with ease.
